Discover MCP servers
The Discovery page is your gateway to exploring and integrating a wide variety of MCP servers. Discovery allows you to quickly search, browse, and set up MCP servers tailored to your needs.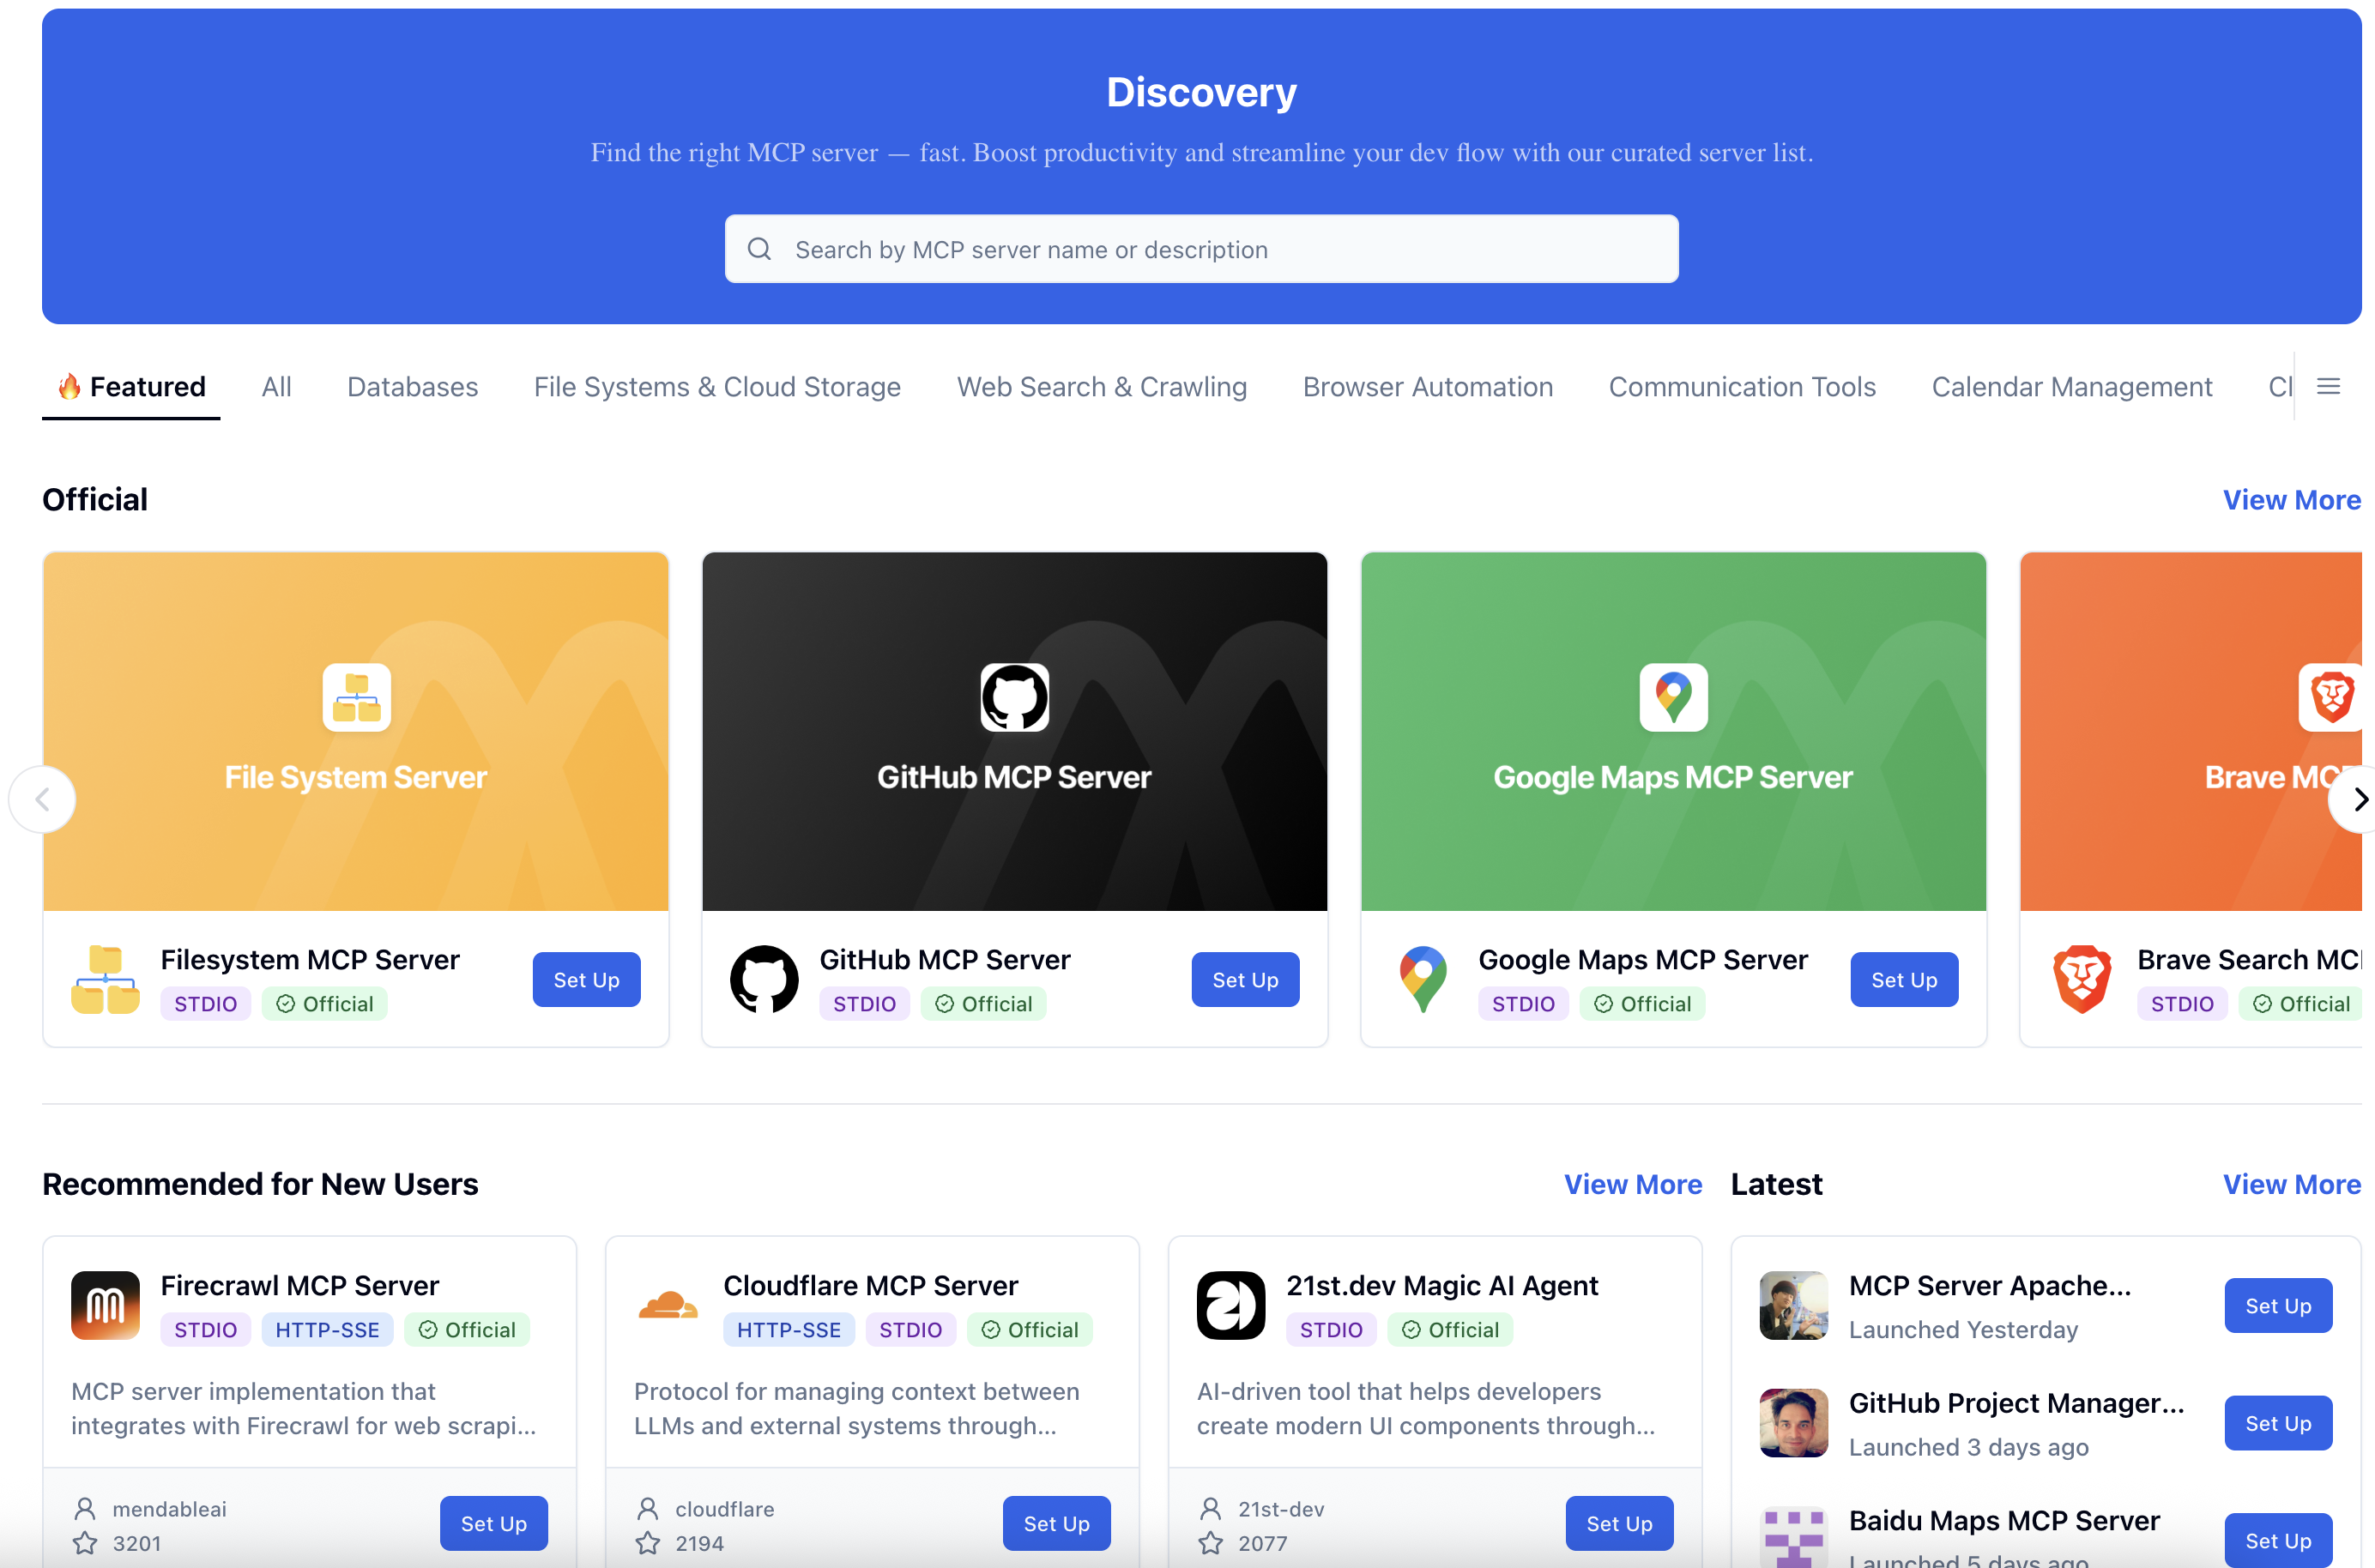
Set up MCP servers
Once you have found your desired server on the Discovery page, you can add it to MCP Now by following the steps below:- Click the server you want to add. The Server Details page will open, displaying comprehensive information about the server, including its description, features, usage guide, and a list of available tools and operations.
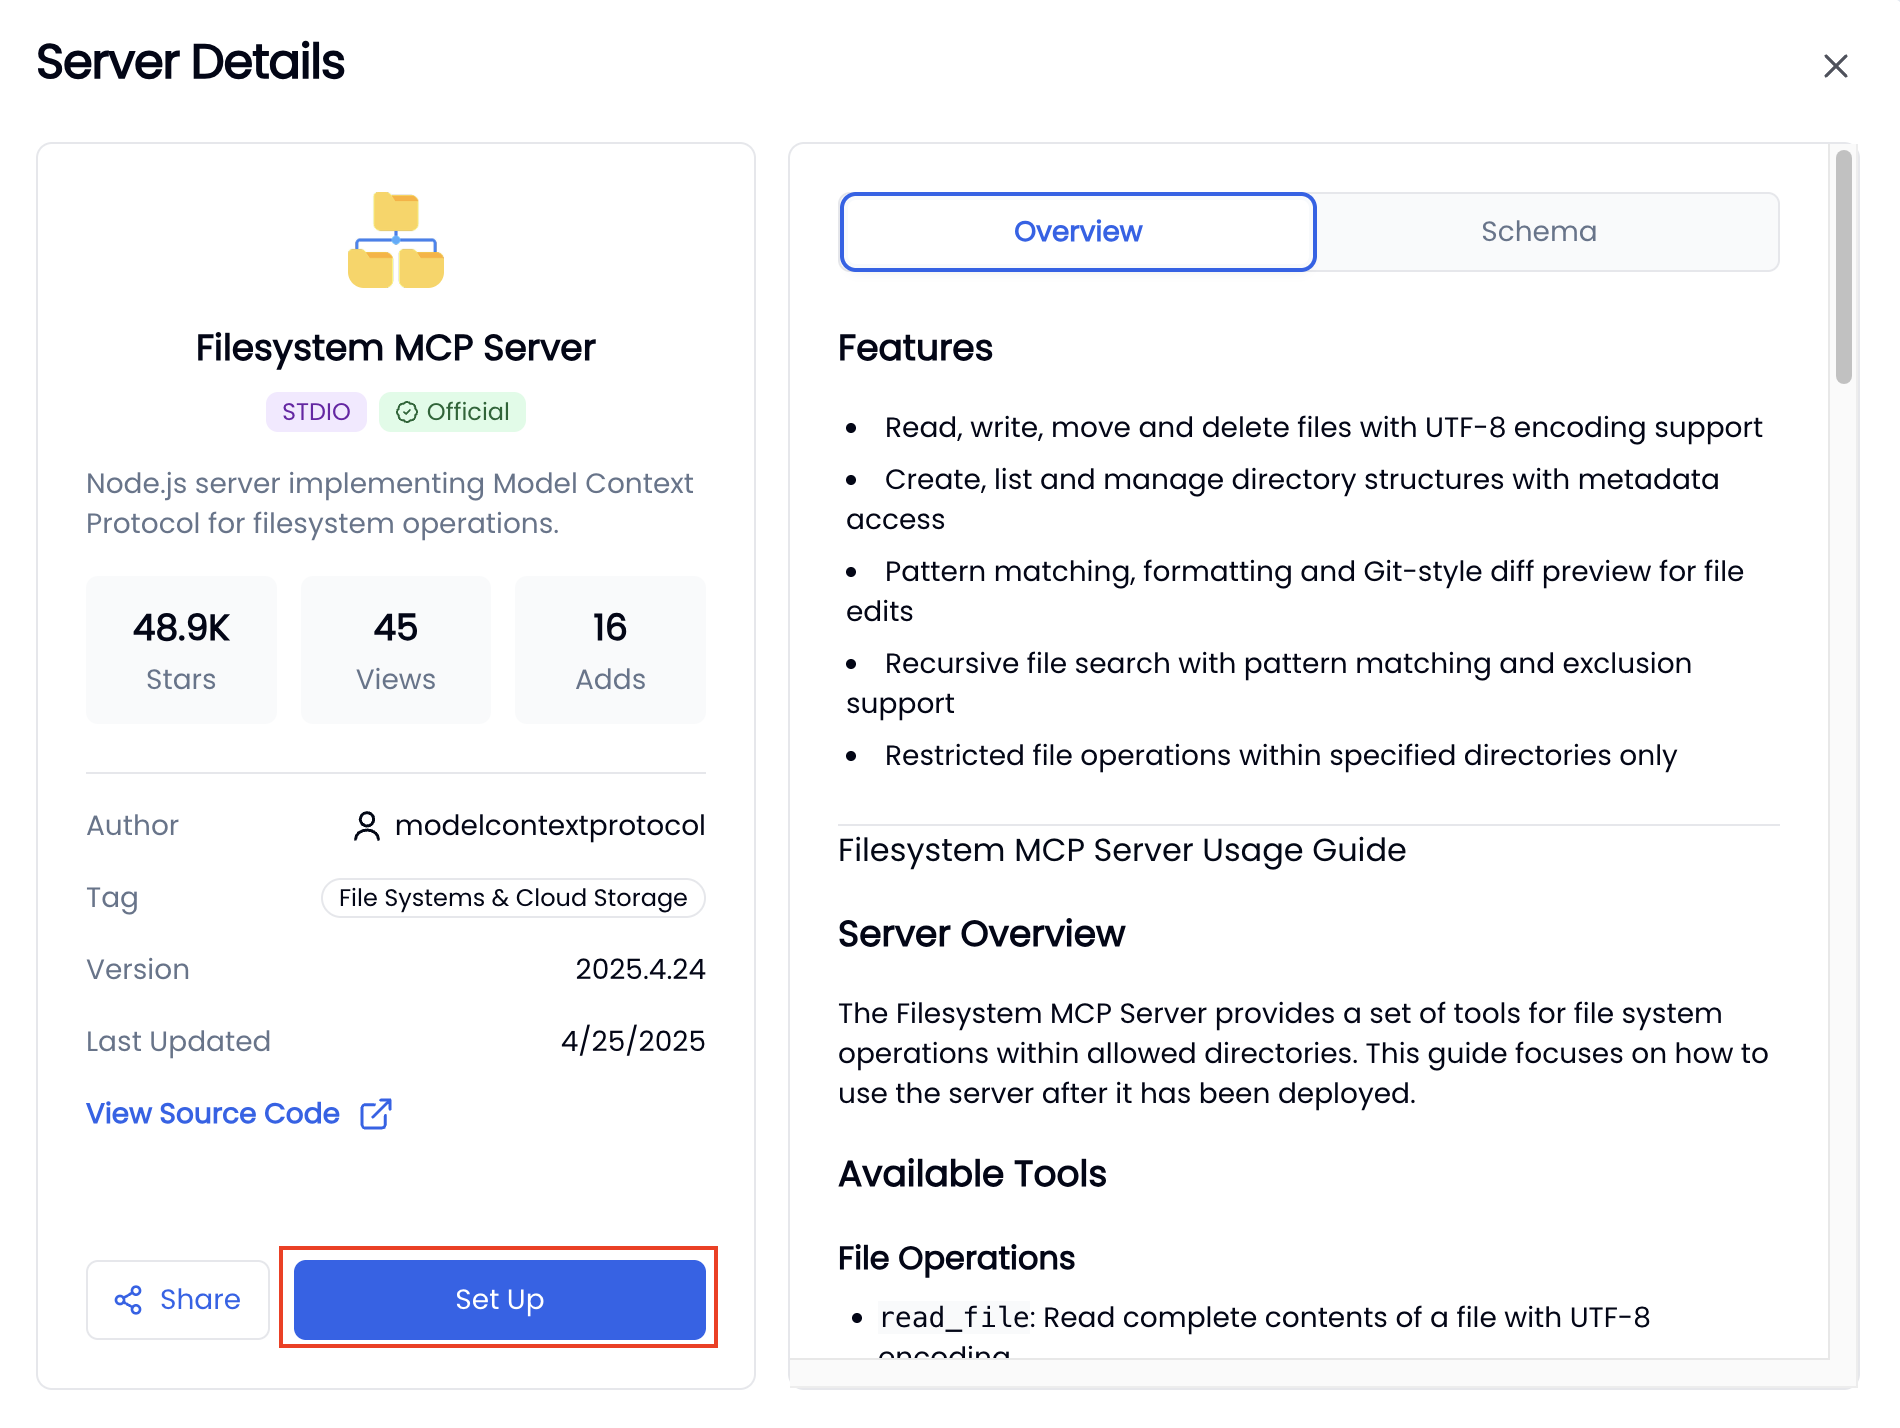
- Click Set Up.
- In the configuration form, select the connection method and fill in other required fields. If you choose MCP Now Hosted Server as the connection method, all necessary dependencies for running the server will be managed automatically by MCP Now, so you don’t need to install anything manually.
After selecting the connection method, you can hover over Quick Start to view the server’s official setup guide. This guide provides step-by-step instructions for installing dependencies and explains each configuration field in detail. Be sure to follow it closely to ensure proper setup.

- (Optional) Select the MCP hosts you want to add the server to.
- Click Set Up to finish.